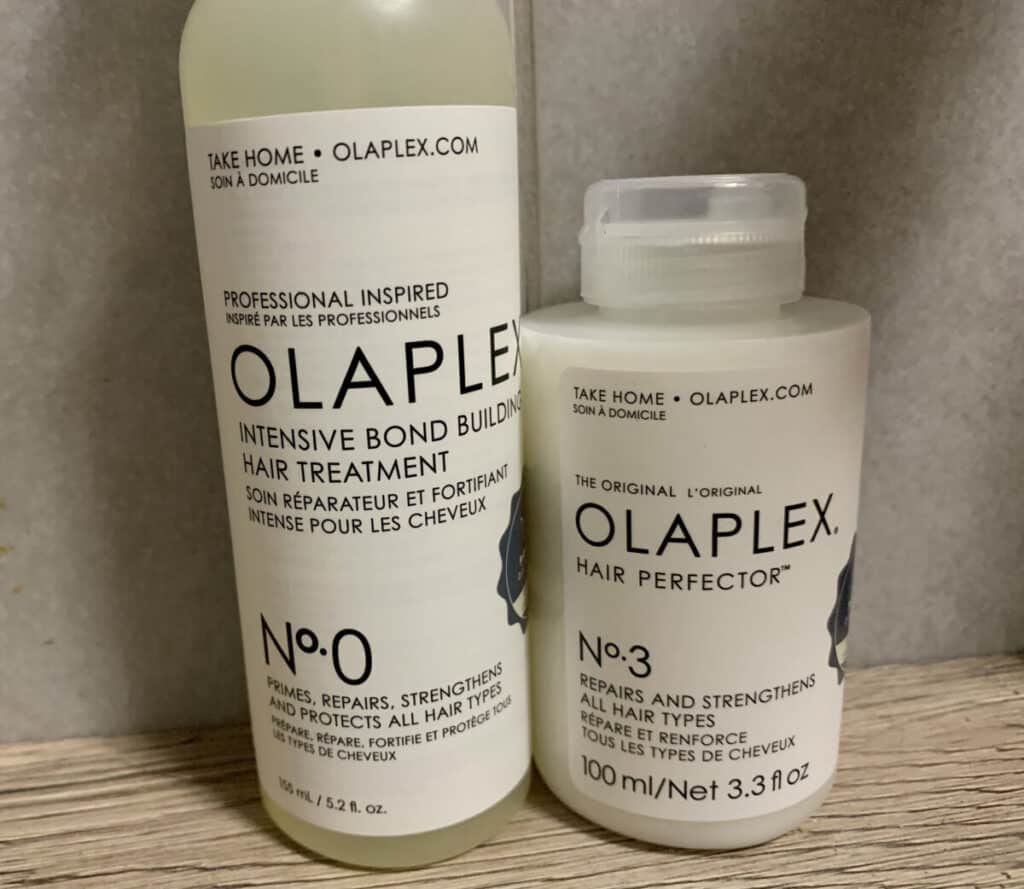
Hello guys! Today I have another entry for you from the series of hair guides – Olaplex, a very well-known method for damaged hair, a home treatment for nourishment, regeneration and hydration. Perhaps your hair is damaged from styling, dyeing or bleaching.
They are brittle and brittle, dull and look like hay. In each of these cases, the Olaplex treatment should help and bring a visible effect after the first application. Hair will be soft, nourished and moisturized for sure, it will be arranged better. The treatment is suitable for all types of dry and damaged hair. For the last few weeks I have been testing the Olaplex No. 0 and No. 3 double regeneration kit myself and it worked great for me. If you are interested in how to best use it and what my care treatment looks like and the effects of Olaplex for hair regeneration, I invite you to the rest of the post.
Related: Remedy for damaged hair | home PEH treatment
DUET FULL RECONSTRUCTION: How to use OLAPLEX No.0 and No.3 duo – my opinion, test and effects
Directions for use:
1. Cleansing hair washing with a strong detergent.
The first step to the treatment is thorough hair cleansing. The manufacturer recommends applying Olaplex No.0 to dry hair , but it is not specified whether it should be clean. In my opinion, the treatment will not work on hair that has a supplement of proteins and care products, especially silicone ones. Before a mask or any treatment that intensively regenerates my hair, I cleanse it thoroughly with a strong shampoo, and so I did now.
First, I thoroughly but gently comb my hair dry, in the direction of washing my hair (in my case, head down over the bathtub). I washed the scalp and the length twice with a cleansing shampoo (with strong SLS detergents with a simple composition, such as Barwa, Joanna Naturia), and rinsing with warm water.
My hair was then gently squeezed into a towel and then into paper tissues to get rid of excess water. You can blow-dry your hair naturally, but it was a waste of time and I dried it with a summer blow dryer while heating the bathroom to the maximum with a heater to dry it quickly and completely . And open the hair cuticles even more.
When they were completely dry, I gently combed them again – first with my fingers, then with a brush, starting from the bottom. Fortunately, my hair doesn’t tangle so I could afford it.
2. Applying fluid no.0
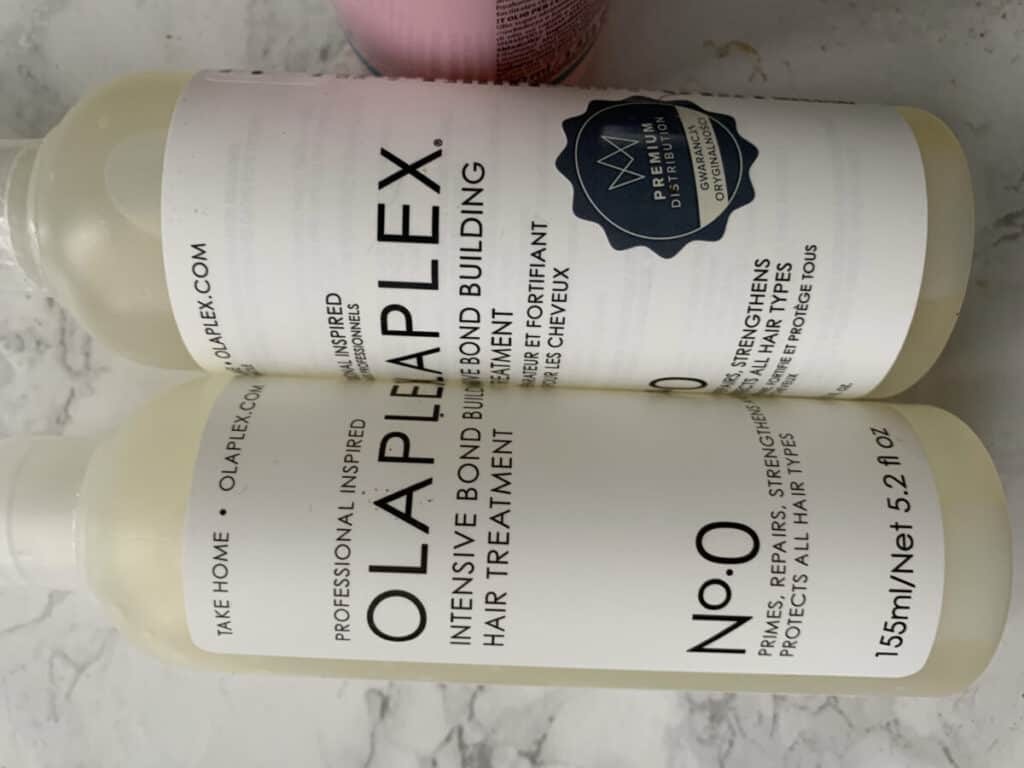
I divided the prepared hair into 4 parts and fastened it with hairdressing clips. I shook the Olaplex fluid well . The applicator has a cap that needs to be twisted. I was wondering why the spray is in the new bottle, if the manufacturer is allergic not to spray and inhale the preparation. The manufacturer especially does not recommend pouring the liquid into a spray bottle, for fear of inhaling the recipe. This is probably why the Olaplex no. 0 does not spray the mist on the hair, but small amounts of liquid, so I would advise you to be careful with that.
So I do not recommend spraying directly onto the hair, but into the hollow of your hand next to each strand, or using a syringe to measure the liquid without a needle and apply it to the hair in this way. That’s what I did, every time I tried to apply the liquid evenly to each strand, starting with the most damaged ends upwards. Then massage it in and press it with your fingers.
The liquid has a slightly cosmetic smell, is pleasant, the hands are a bit sticky, but it spreads well. The manufacturer recommends applying it to the entire length of the hair, from the roots to the ends, but I have not noticed that my scalp has problems with damage, so I applied from 1/3 of the length.
Finally, I put a little bit on the ends gathered together and then combed the length of the hair to distribute the product even better, and let it sit for 10 minutes . I use additionally under the foil and a warm cap.
3. Time for Olaplex No. 3 conditioner
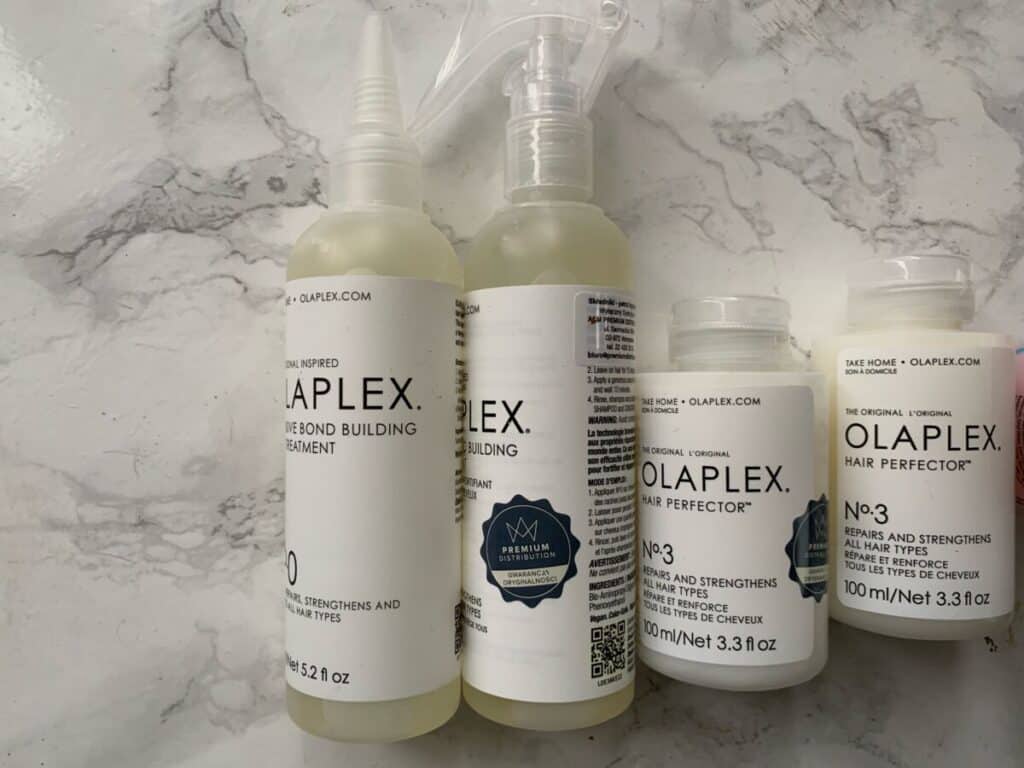
After 10 minutes my hair was still slightly damp, but without the cap it can dry out, so I think in any case you can spray it a little with water or add some liquid. I put the conditioner on top of the previous base product, do not rinse No.0 out of the hair first. I divided my hair into 4 strands again, massaged the conditioner thoroughly, strand by strand, dented and combed my hair. Again, I use a shower cap, preferably lightly heated with a dryer or a warm turban to make it even stronger, but it’s not necessary.
4. A warm compress.
You should leave both cosmetics on your hair for at least 10 minutes or longer – this is what the manufacturer recommends, but opinions are also divided here. Some leave it for an hour, some for 3-4, others for the whole night, but I do not recommend keeping any product on wet hair for more than an hour for fear of damage. The manufacturer claims that the product stops working after 2 hours, so longer is not better. I left them in a warm turban for about an hour, with a heated dryer, and wrapped in an extra towel.
5. Washing your hair.
After this time, I took off the cap, soaked it slightly with warm water, sprinkled the product again and left it for 5 minutes. I rinsed thoroughly. You can wash your hair with shampoo, but it is not necessary, Oleplex can easily stay on the hair for the benefit of us and I did not wash it either, but I applied an additional emollient conditioner with silicones to the ends, rinsed with cool water after about a minute. I dried my hair the same method with the cool blow of the dryer.
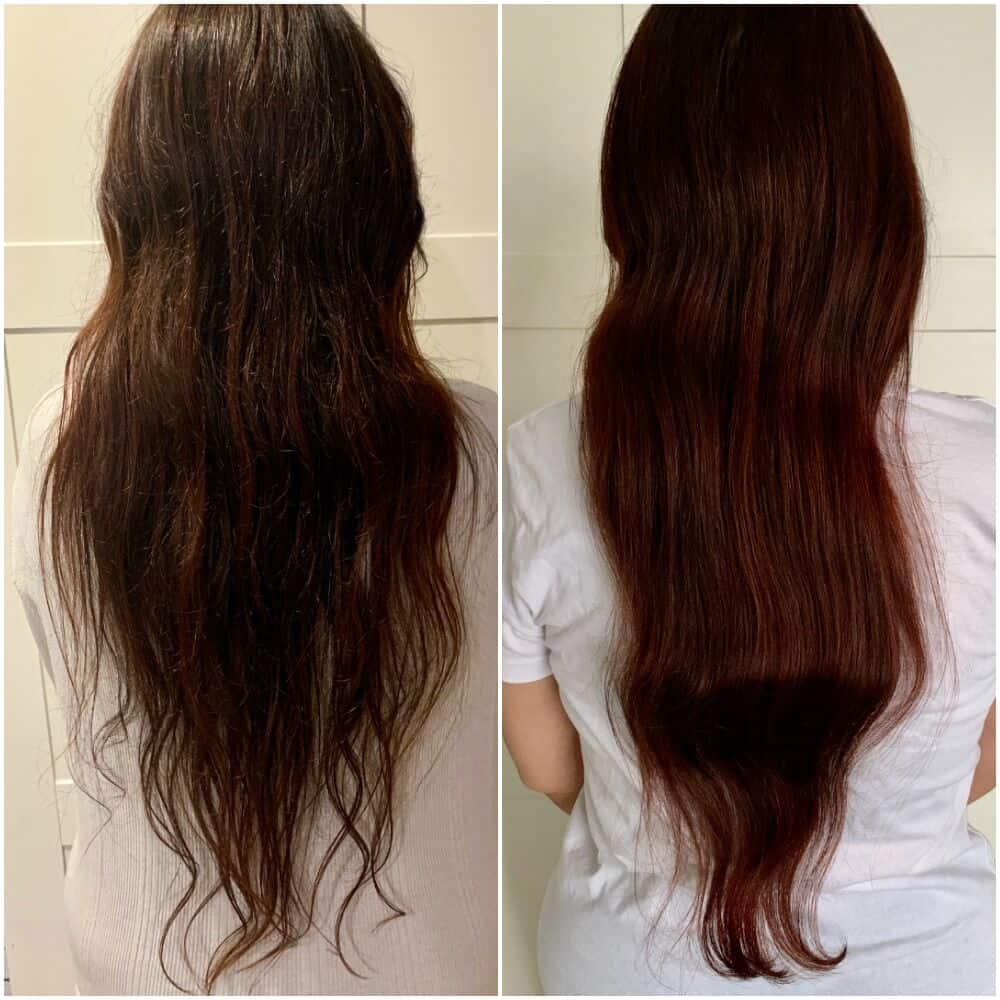
Using Olaplex, my effects:
I could feel the wonderful softness and smoothness of my hair right away. After drying and styling, they were slippery and straight, as if thickened and slightly covered with wax or a layer of light silicones. I liked the effect very much, visually it is much better than when I used no.3 a few years ago. And although it was not any amazing metamorphosis that I usually saw in the photos from salons before and after the Oleplex treatment, I am very pleased with my test.
This effect was probably more visible on extremely damaged hair, in my case it resembled a good, highly nourishing mask with silicones, but I am still satisfied with the appearance and effects and I hope for the long-term effect of the treatment in regeneration and prevention of brittle hair breakage.
Photo 2 shows a clear smoothness, shine, curl and much less fluff.
I didn’t use much of both products for waist-length hair, around 1/12, so I like the price-performance ratio and will be more willing to test them further.
I hope I helped you at least a little!


