Hey, folks! I come to you with another post about DIY cosmetics, this time it will be a self-tanner for the face and body . It is a natural and homemade cosmetic that we can prepare at any time from semi-finished products.
So it’s quick to make and incredibly cheap, and organic too! Much better for our sensitive skin than the chemical self-tanning agents offered on store shelves. The cream gives a rather gradual, light tan that looks very natural, not like a layer of brown dirt. It does not make unsightly streaks or stains. We can treat this cosmetic also as a natural, homemade butter for daily body skin care after bathing.
To prepare a homemade self-tanner, we will only need oils – natural solid fat, e.g. Shea butter, cocoa butter and oil with a high content of beta carotene, e.g. red unrefined palm oil and carrot oil. The recipe can of course be modified, I chose what I had to finish in my cosmetic supplies. The recipe worked very well for me and now, during the summer heat, I use it almost every day to strengthen and emphasize my light tan. So I would like to share it with you! So if you are interested in the recipe for a homemade self-tanner, check out my post.

Recipe for a DIY natural self-tanner
Ingredients:
- 30g Shea / Cocoa Butter
- 20 g of red unrefined palm oil
- 30 drops of carrot oil
- a fragrance oil, such as vanilla
Execution:
Time required: 15 min ..
Recipe for a DIY natural self-tanner
- Preparation.We measure out the ingredients. We wash / scald the pot or the pot and the container for the ready cream.
- Melting.Cut a little Shea into small pieces and slowly melt over a small fire, stirring all the time. Then add palm oil and melt it in the same way. We wait until the mass has cooled down a bit, but it is still in liquid form.
- Mixing.Then add the carrot oil and the selected fragrance, mix thoroughly.
- Fridge.The mass is quickly poured into the target packaging, which, still warm, not hot, is put in the refrigerator for a few hours to let it solidify (or for an hour in the freezer).
- Ready!
Similar: Home remedies for sunburn | Top 5
Homemade cosmetics, notes:
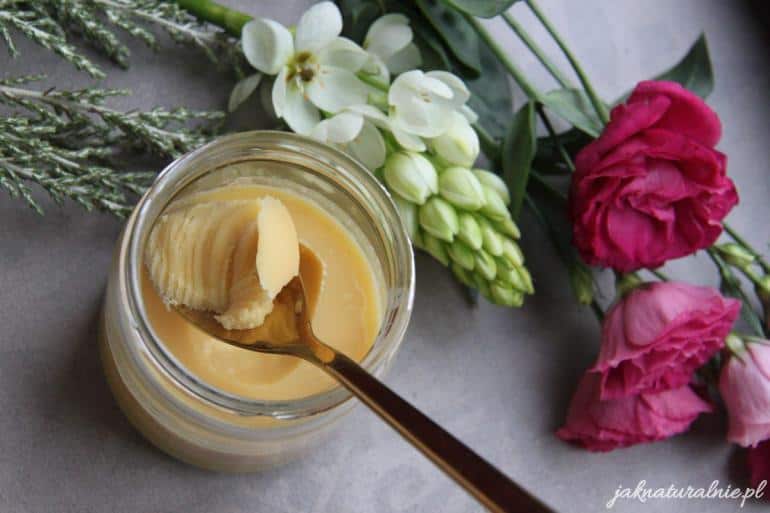
The cream should be firm even outside the refrigerator, but easy to scoop up and spread on. It should have a nice yellow color and smell.
It can also be used on the face if shea butter does not cause blackheads. The cream is not preserved, but should not deteriorate quickly.
I usually keep the stock in the fridge and a small amount in the shower.


