
Hi loves! I come to you with another post about DIY cosmetics, this time it will be a DIY cream – butter for breast care . It is a natural and home cosmetic that we can prepare at any time from semi-finished products and the contents of our kitchen or pantry.
So it’s quick to make and incredibly cheap, and organic too! Much better for our sensitive skin than the chemical creams offered on store shelves. It is especially important not to rub any harmful chemicals into the sensitive area of the armpits and breasts.
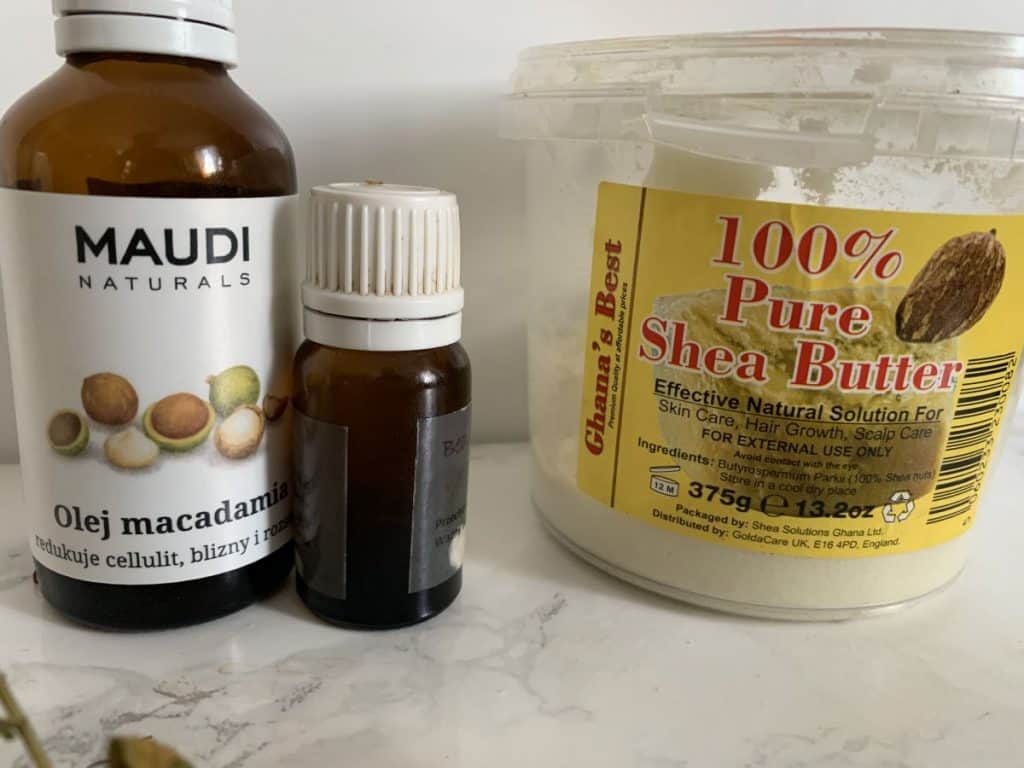
To prepare a homemade cream, we will only need oils – natural solid fat, e.g. Shea butter, cocoa butter or red unrefined palm oil, and liquid oils, preferably macadamia or almond, with firming properties. I did a great job with this basic recipe, so I’d like to share it with you! So if you are interested in this recipe for a DIY breast cream, check out my post.
Why is it worth using shea butter in care?
When a few years ago there was no choice of natural cosmetics for breast care, I always made some homemade oil-based spreads. I read a lot about it and it turns out that the best specifics for the skin of the breasts are ordinary shea and cocoa butter, rubbed in to reduce the visibility of stretch marks and firm thin and flaccid skin. Indeed, it worked for me, but the butter itself was difficult to use, so to make my care more pleasant, I invented this cream. I melted butters, mixed them with myself and oils, added aromatic oils, sometimes extracts and vitamins.
This cream is easy to scoop up and spread, without leaving oily skin or staining clothes. We can treat this cosmetic also as a natural, homemade butter for daily skin care – even for the whole body, after a bath.
Recipe for DIY cream – breast care butter
Ingredients:
- 30 g Shea Butter
- 10 g of cocoa butter
- 20 g red unrefined palm oil / coconut oil
- 2 tbsp macadamia oil, almond oil, olive oil etc.
- fragrance oil, e.g. vanilla, patchouli
- Vitamin E
- possibly firming oil-based extracts, herbal macerates
Execution:
Time needed: 30 minutes.
Recipe for DIY breast cream
- Preparation.
We measure out the ingredients. We wash / scald the pot or the pot and the container for the ready-made cream. - Melting.
We start with the hardest butter, cocoa. Cut them into small pieces and slowly melt them in a saucepan, on a small fire or in a water bath, stirring all the time. Then add the rest of the butter and dissolve it slowly. Mix thoroughly and remove from heat.
- Mixing.
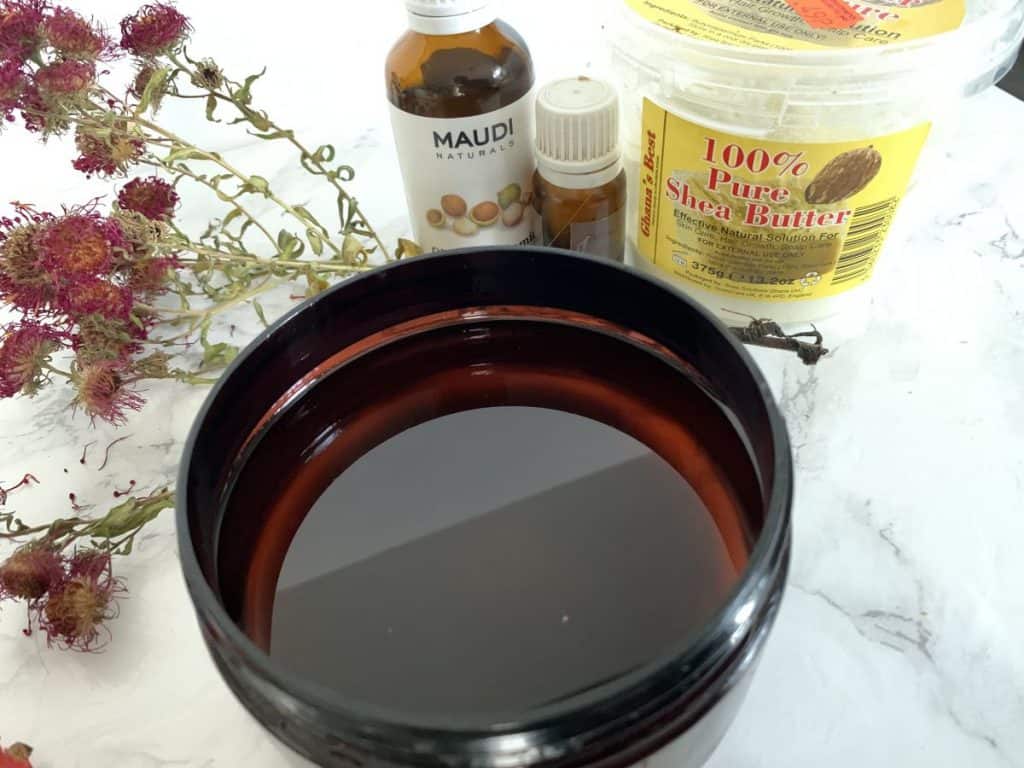
We wait until the mass cools down a bit, it is not boiling, but still in liquid form. Then pour in liquid oil, vit. and the selected fragrance oil, mix thoroughly.
- Refrigerator.
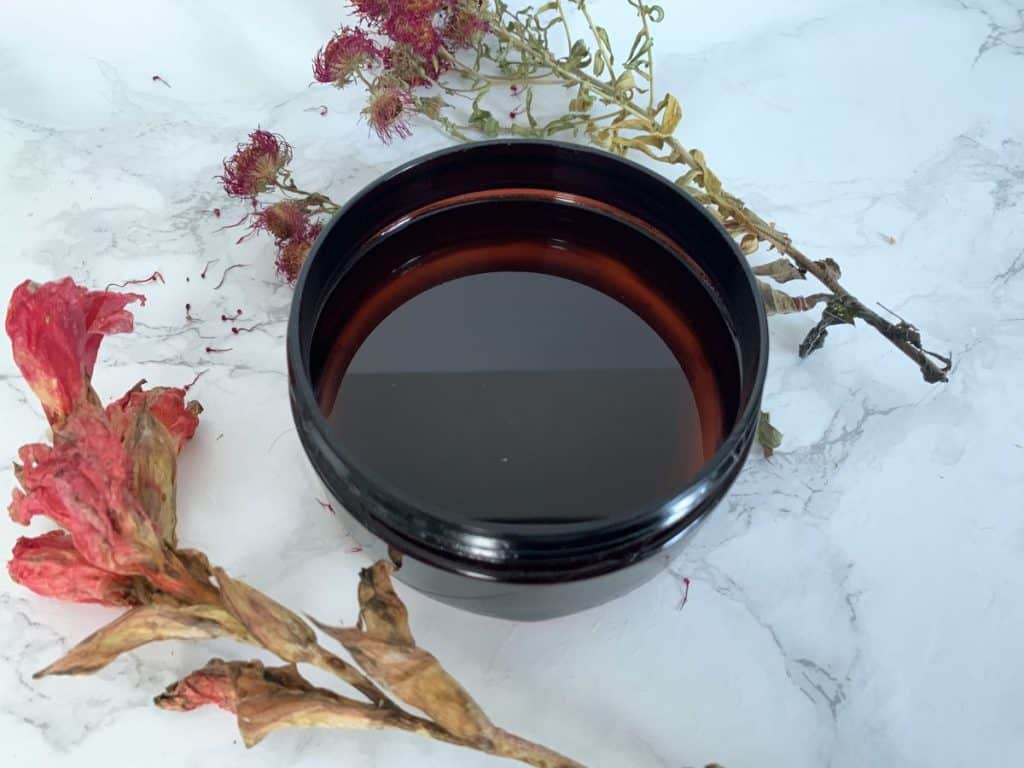
The mass is quickly poured into the target packaging, which, still warm, but not hot, is put in the refrigerator for a few hours to let it solidify (or for an hour in the freezer). Ready!
Related: DIY self-tanner for face and body – natural and homemade
Homemade breast cream, notes:
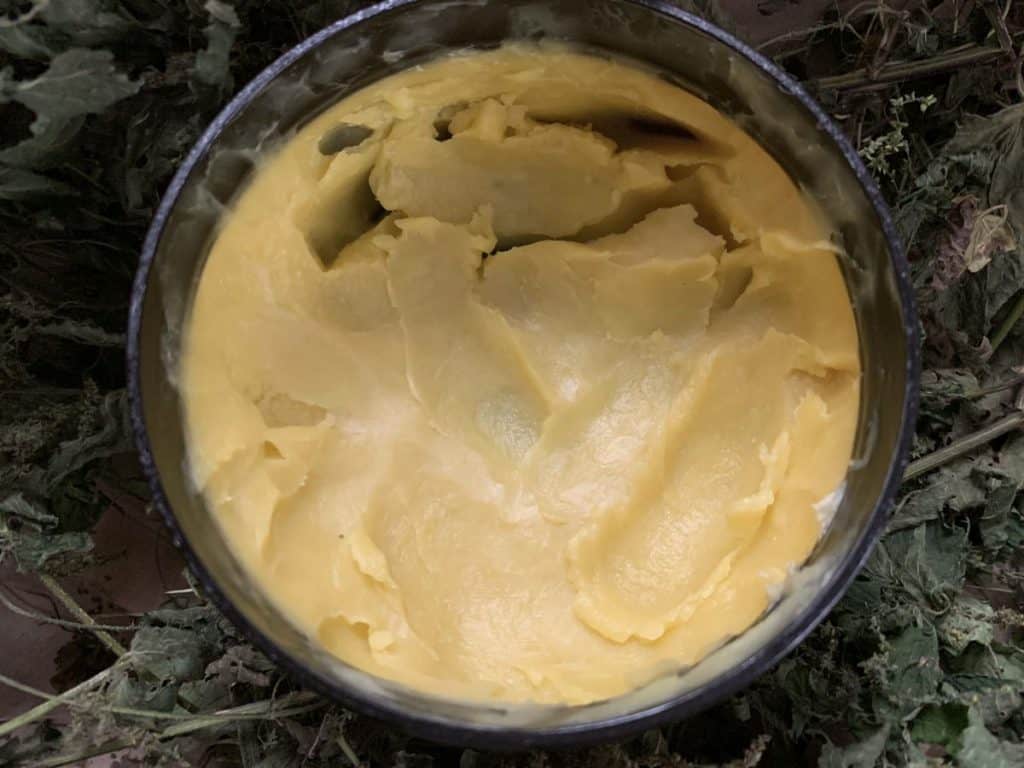
The cream should be firm and butter-like even outside the refrigerator, but easy to scoop up and spread on. If not, we dissolve again with more solid butter / wax. It should be yellowish in color and have a nice smell.
You can also use it for hair oiling, care of the whole body (especially places with stretch marks), hands and even face, as long as shea butter does not cause blackheads.
The cream is not preserved, but it should not spoil quickly.
I usually store it in the shower and it has lasted quietly for several months.
Do you like DIY home cosmetics?


